🛠️ 部署方法
方法一:📜 脚本部署(推荐)
# 1. 🗂️ 切换到root用户并创建文件夹
mkdir -p oci-start && cd oci-start

# 2. 📥 下载执行脚本
wget -O oci-start.sh https://raw.githubusercontent.com/doubleDimple/shell-tools/master/oci-start.sh && chmod +x oci-start.sh
# 3. 📥 gitee下载执行脚本
wget -O oci-start.sh https://gitee.com/xaioxin_convoy/shell-tools/raw/master/oci-start.sh && chmod +x oci-start.sh

# 3. 🎯 直接运行脚本,即可自动安装部署
./oci-start.sh start
🎮 脚本操作命令
# 🚀 启动应用程序
./oci-start.sh start

# ⏹️ 停止应用程序
./oci-start.sh stop

# 🔄 重启应用程序
./oci-start.sh restart

# ⬆️ 更新到最新版本
./oci-start.sh update

# 🗑️ 完全卸载应用
./oci-start.sh uninstall
方法二:🐳 Docker部署
# 📁 创建工作目录
mkdir -p oci-start-docker && cd oci-start-docker

# 📥 下载Docker脚本
wget -O docker.sh https://raw.githubusercontent.com/doubleDimple/shell-tools/master/docker.sh && chmod +x docker.sh

# 🔧 执行脚本
./docker.sh install    # 安装应用
./docker.sh uninstall  # 卸载应用
🐋 Docker管理命令
# 📊 查看容器状态
docker ps -a

# 📜 查看容器日志
docker logs oci-start
⚙️ 配置说明
💡 升级提示:对于已部署旧版本的用户,除了security配置需完全删除外,其他配置暂时保持不变
📝 基础配置
# 🌐 端口配置(默认端口为9856)
server:
  port: 9856

# 🔗 域名访问配置(需要在nginx上配置)说明:此为访问面板cloud shell的必须配置
location ~ ^/websockify/(\d+)$ {
    proxy_pass http://yourIp:$1;
    proxy_http_version 1.1;
    proxy_set_header Upgrade $http_upgrade;
    proxy_set_header Connection "upgrade";
    proxy_set_header Host $host;
    proxy_set_header X-Real-IP $remote_addr;
    proxy_set_header X-Forwarded-For $proxy_add_x_forwarded_for;
    proxy_read_timeout 86400;
}
📖 使用指南
🎯 基本操作
# 🔑 添加执行权限
chmod 777 oci-start.sh

# 🚀 启动程序
./oci-start.sh start

# 📊 查看启动状态
./oci-start.sh status

# ⏹️ 停止程序
./oci-start.sh stop
🌐 访问方式
通过浏览器访问:http://your-ip:port
第一步部署成功后,需要执行注册即可登录(注册页面只在第一次部署的时候才会出现)
📸 截图展示
🏠 主界面

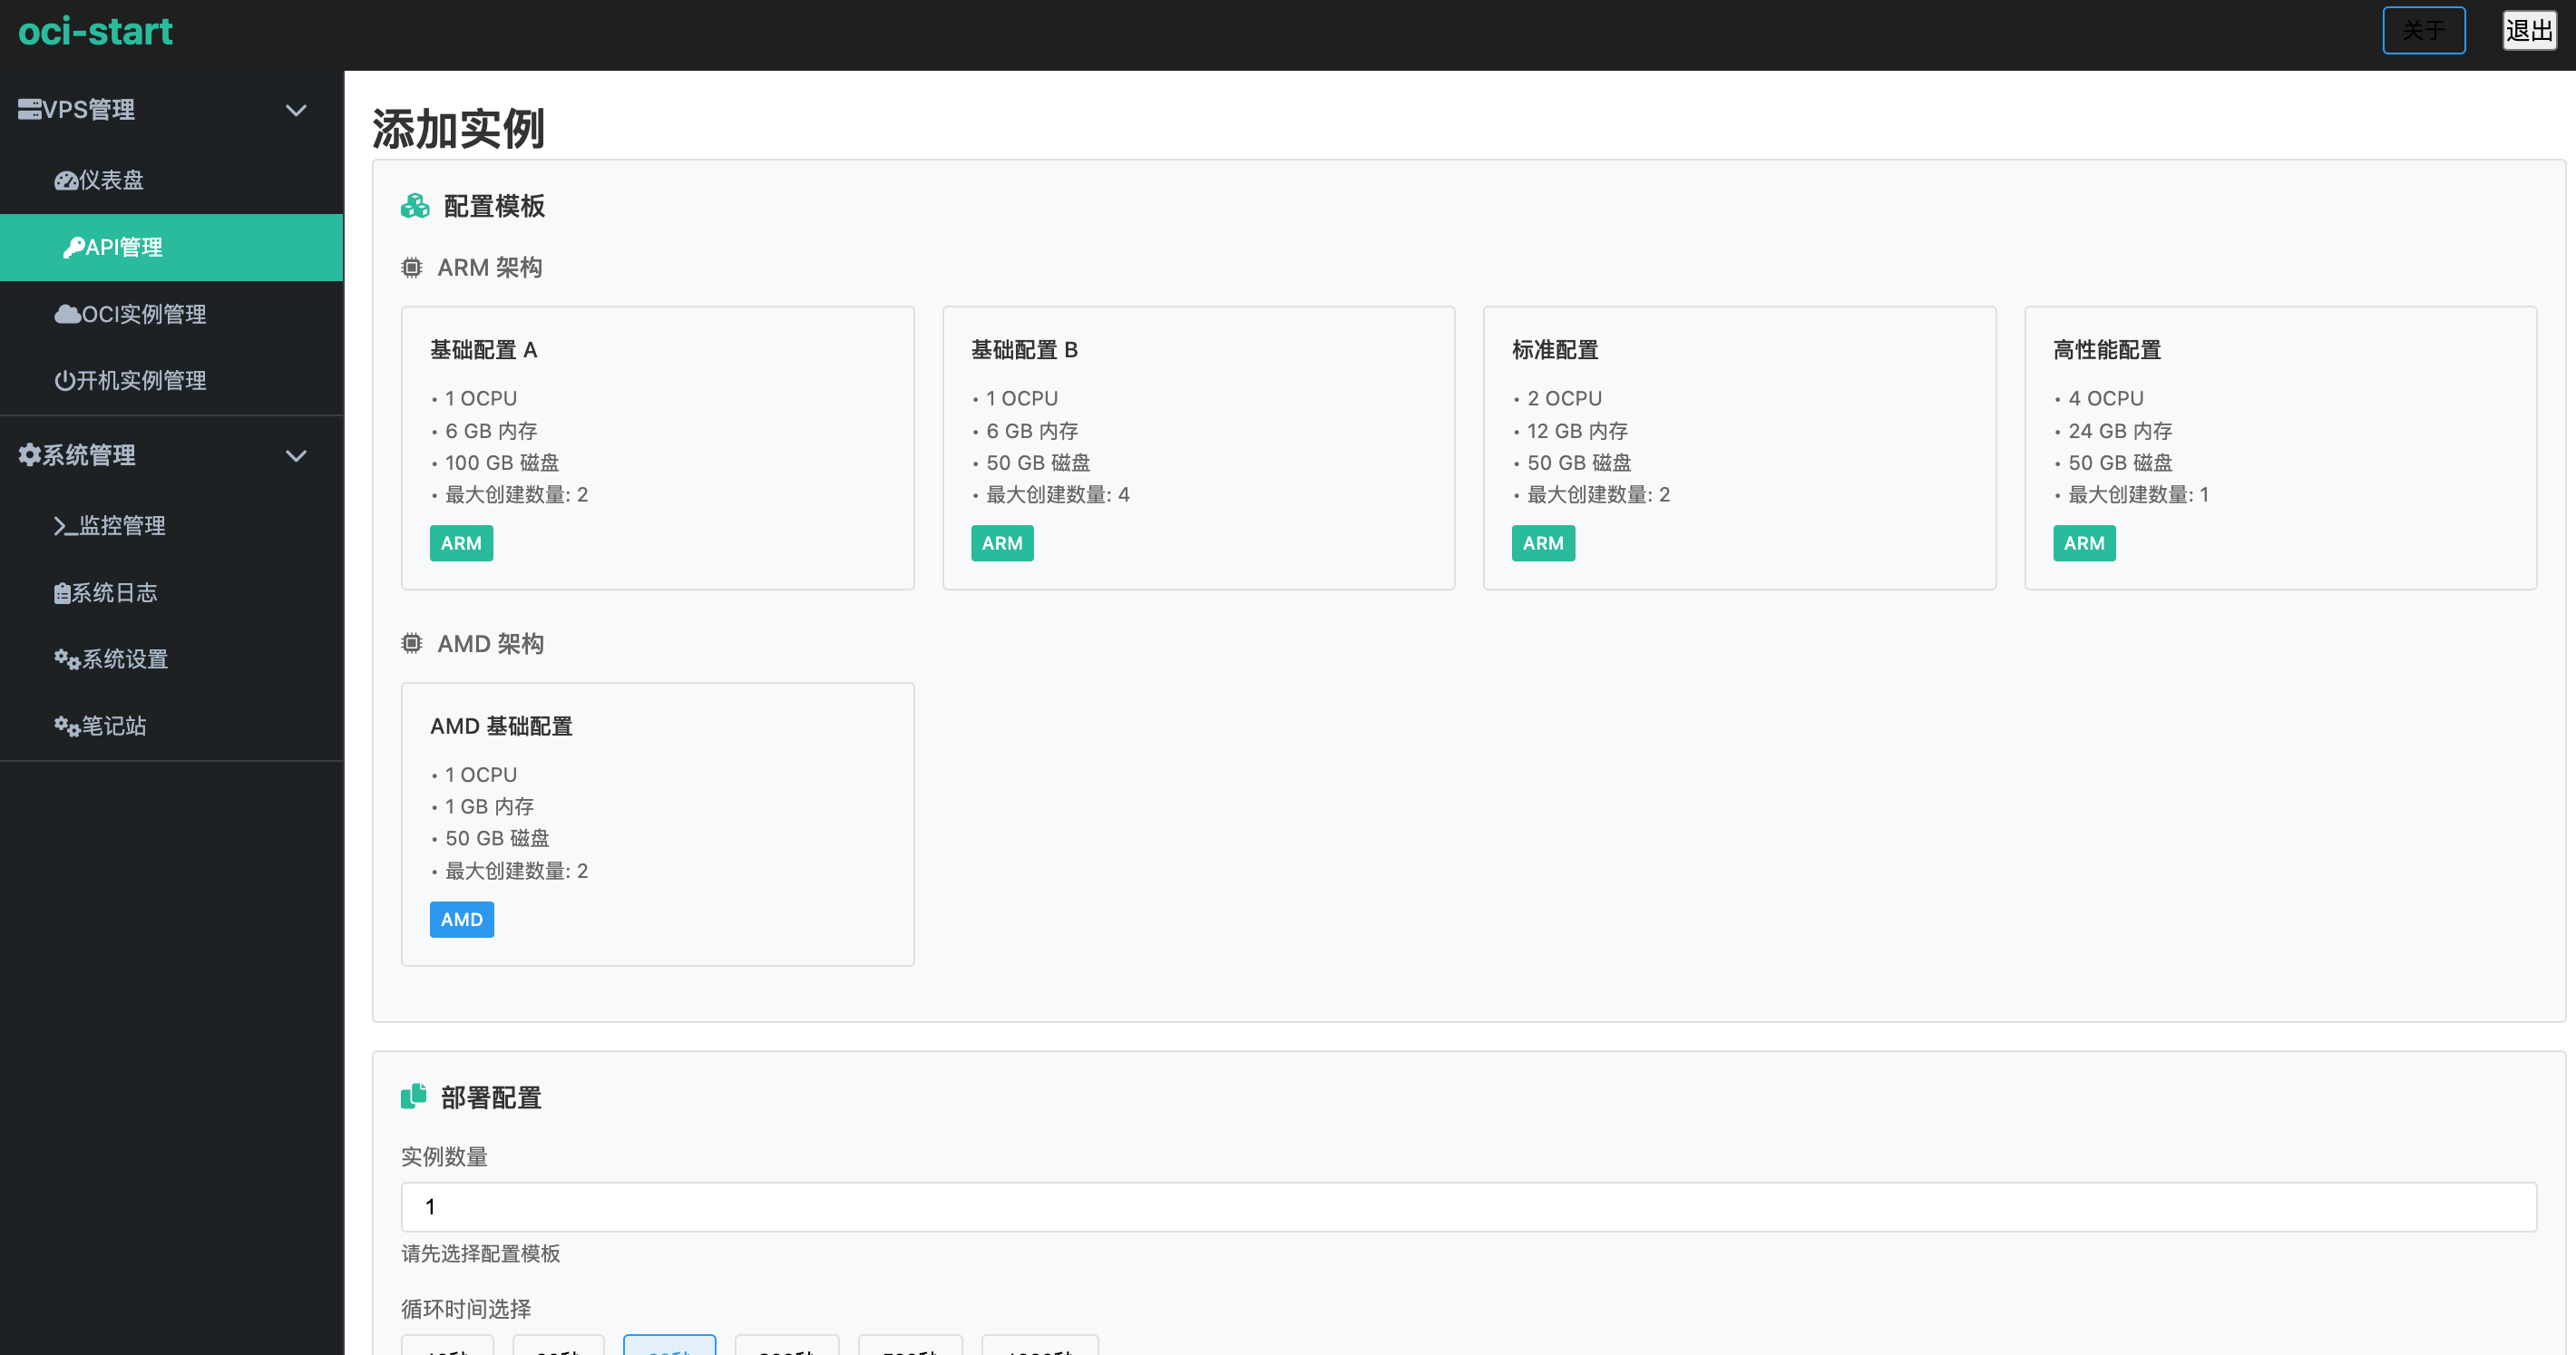
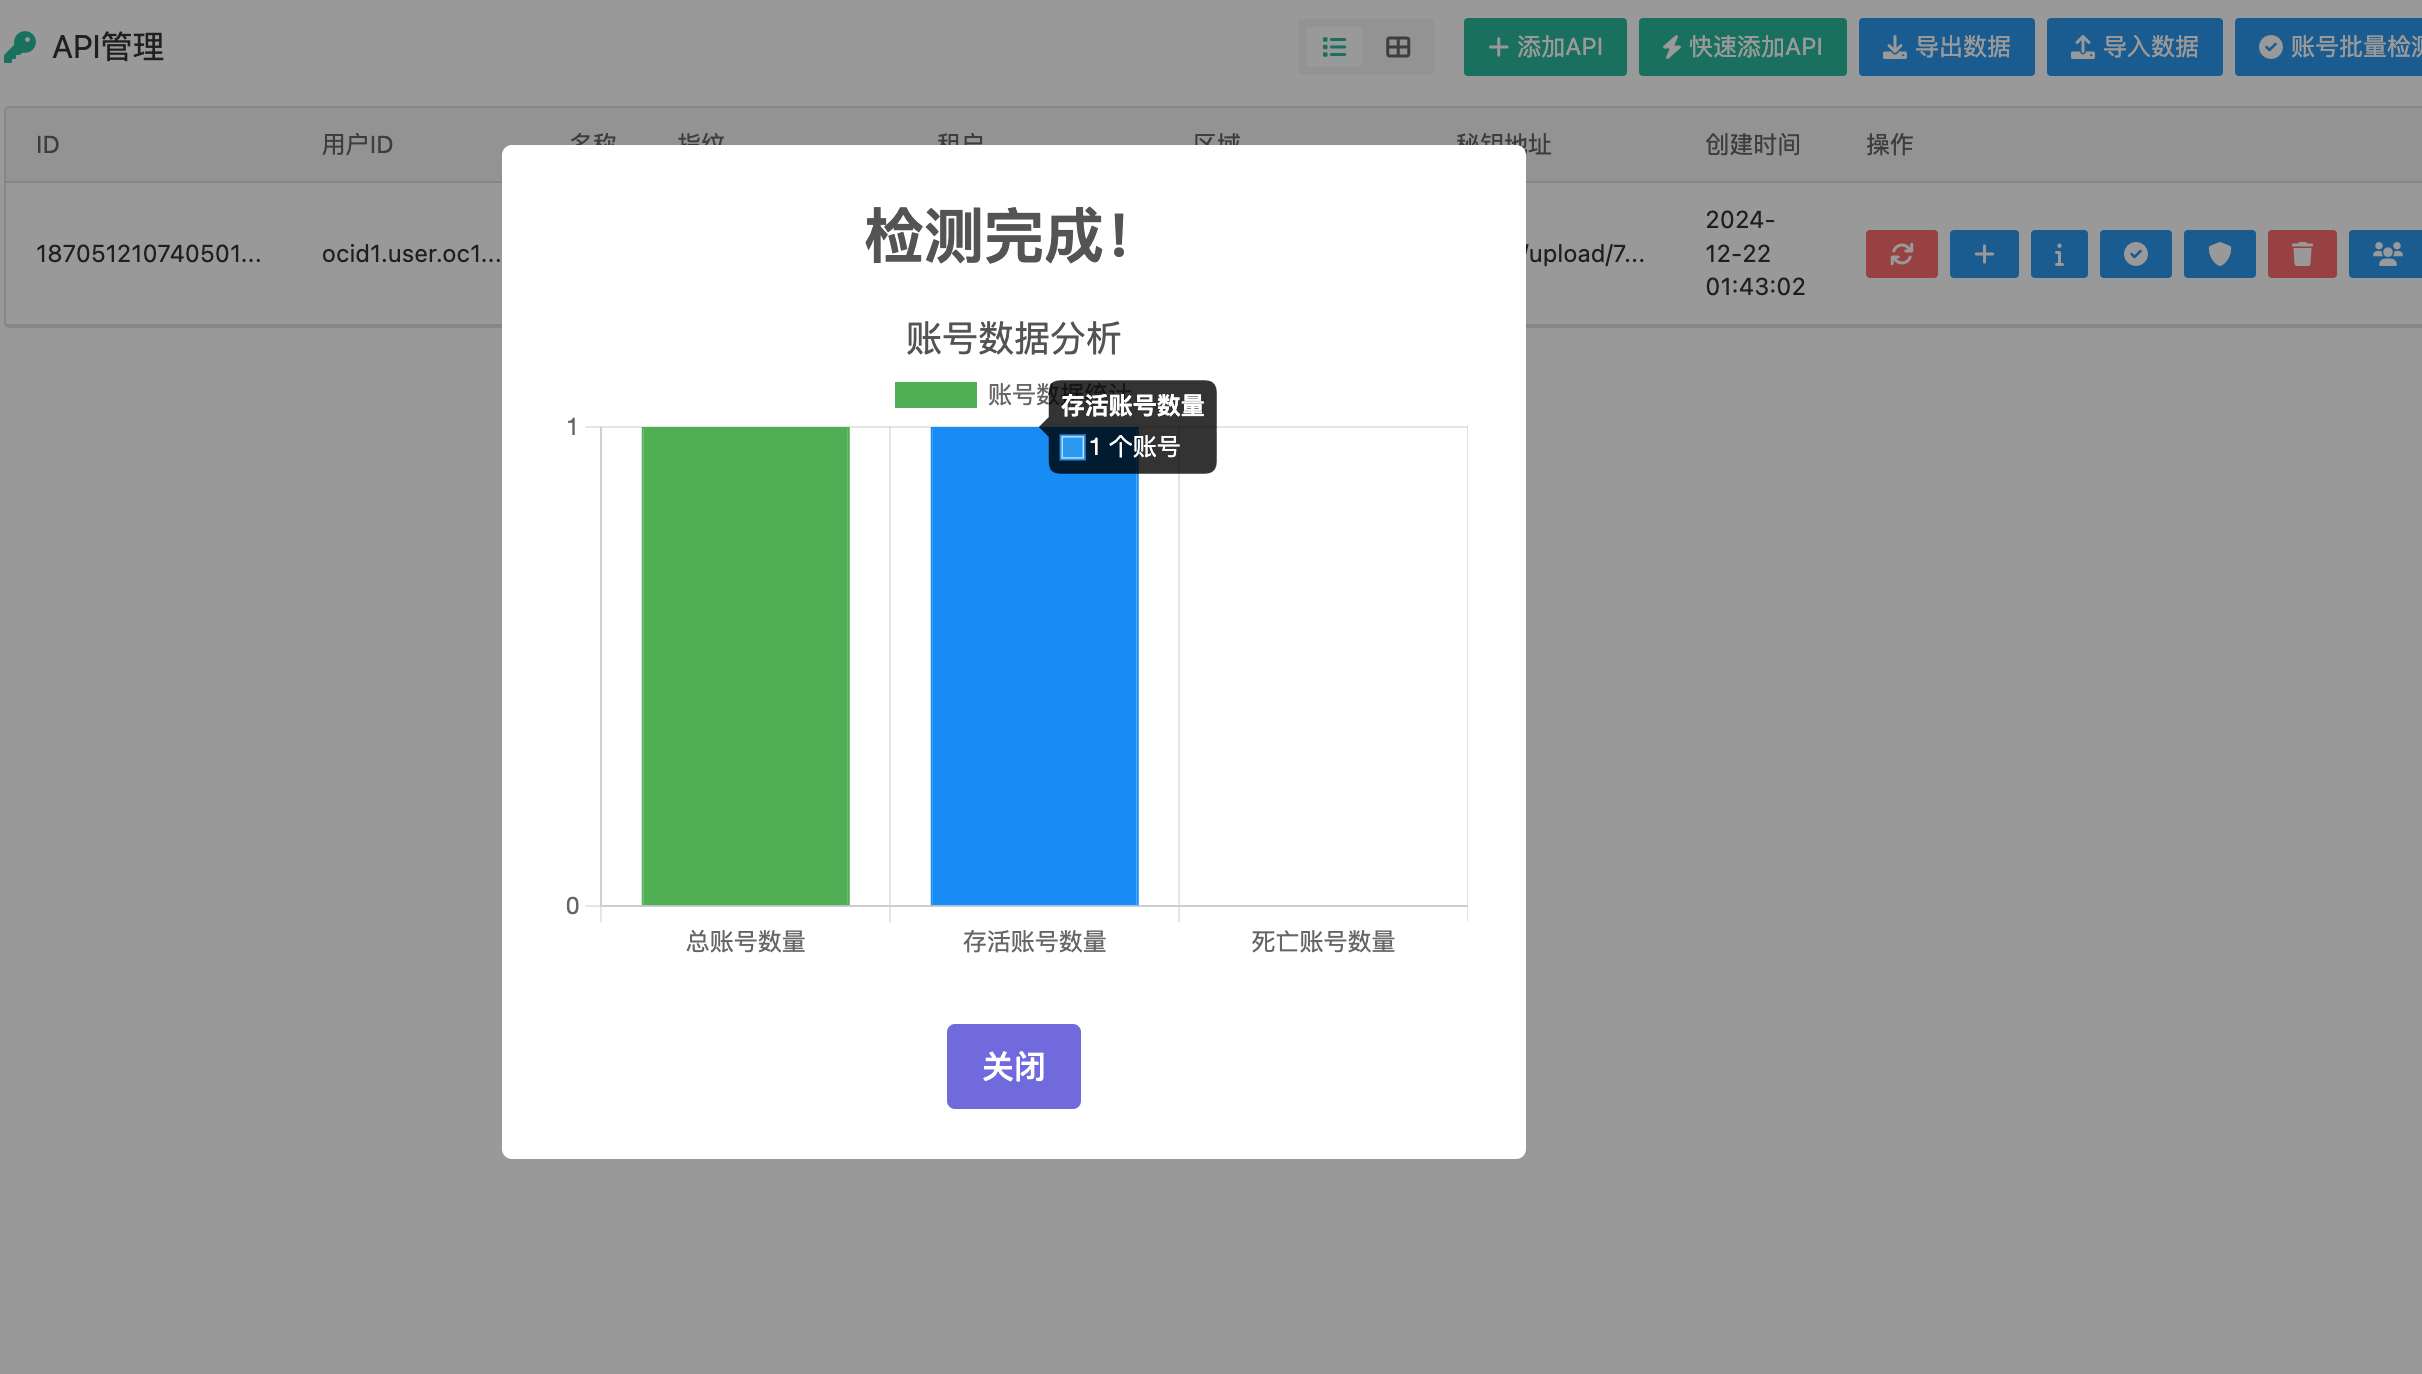
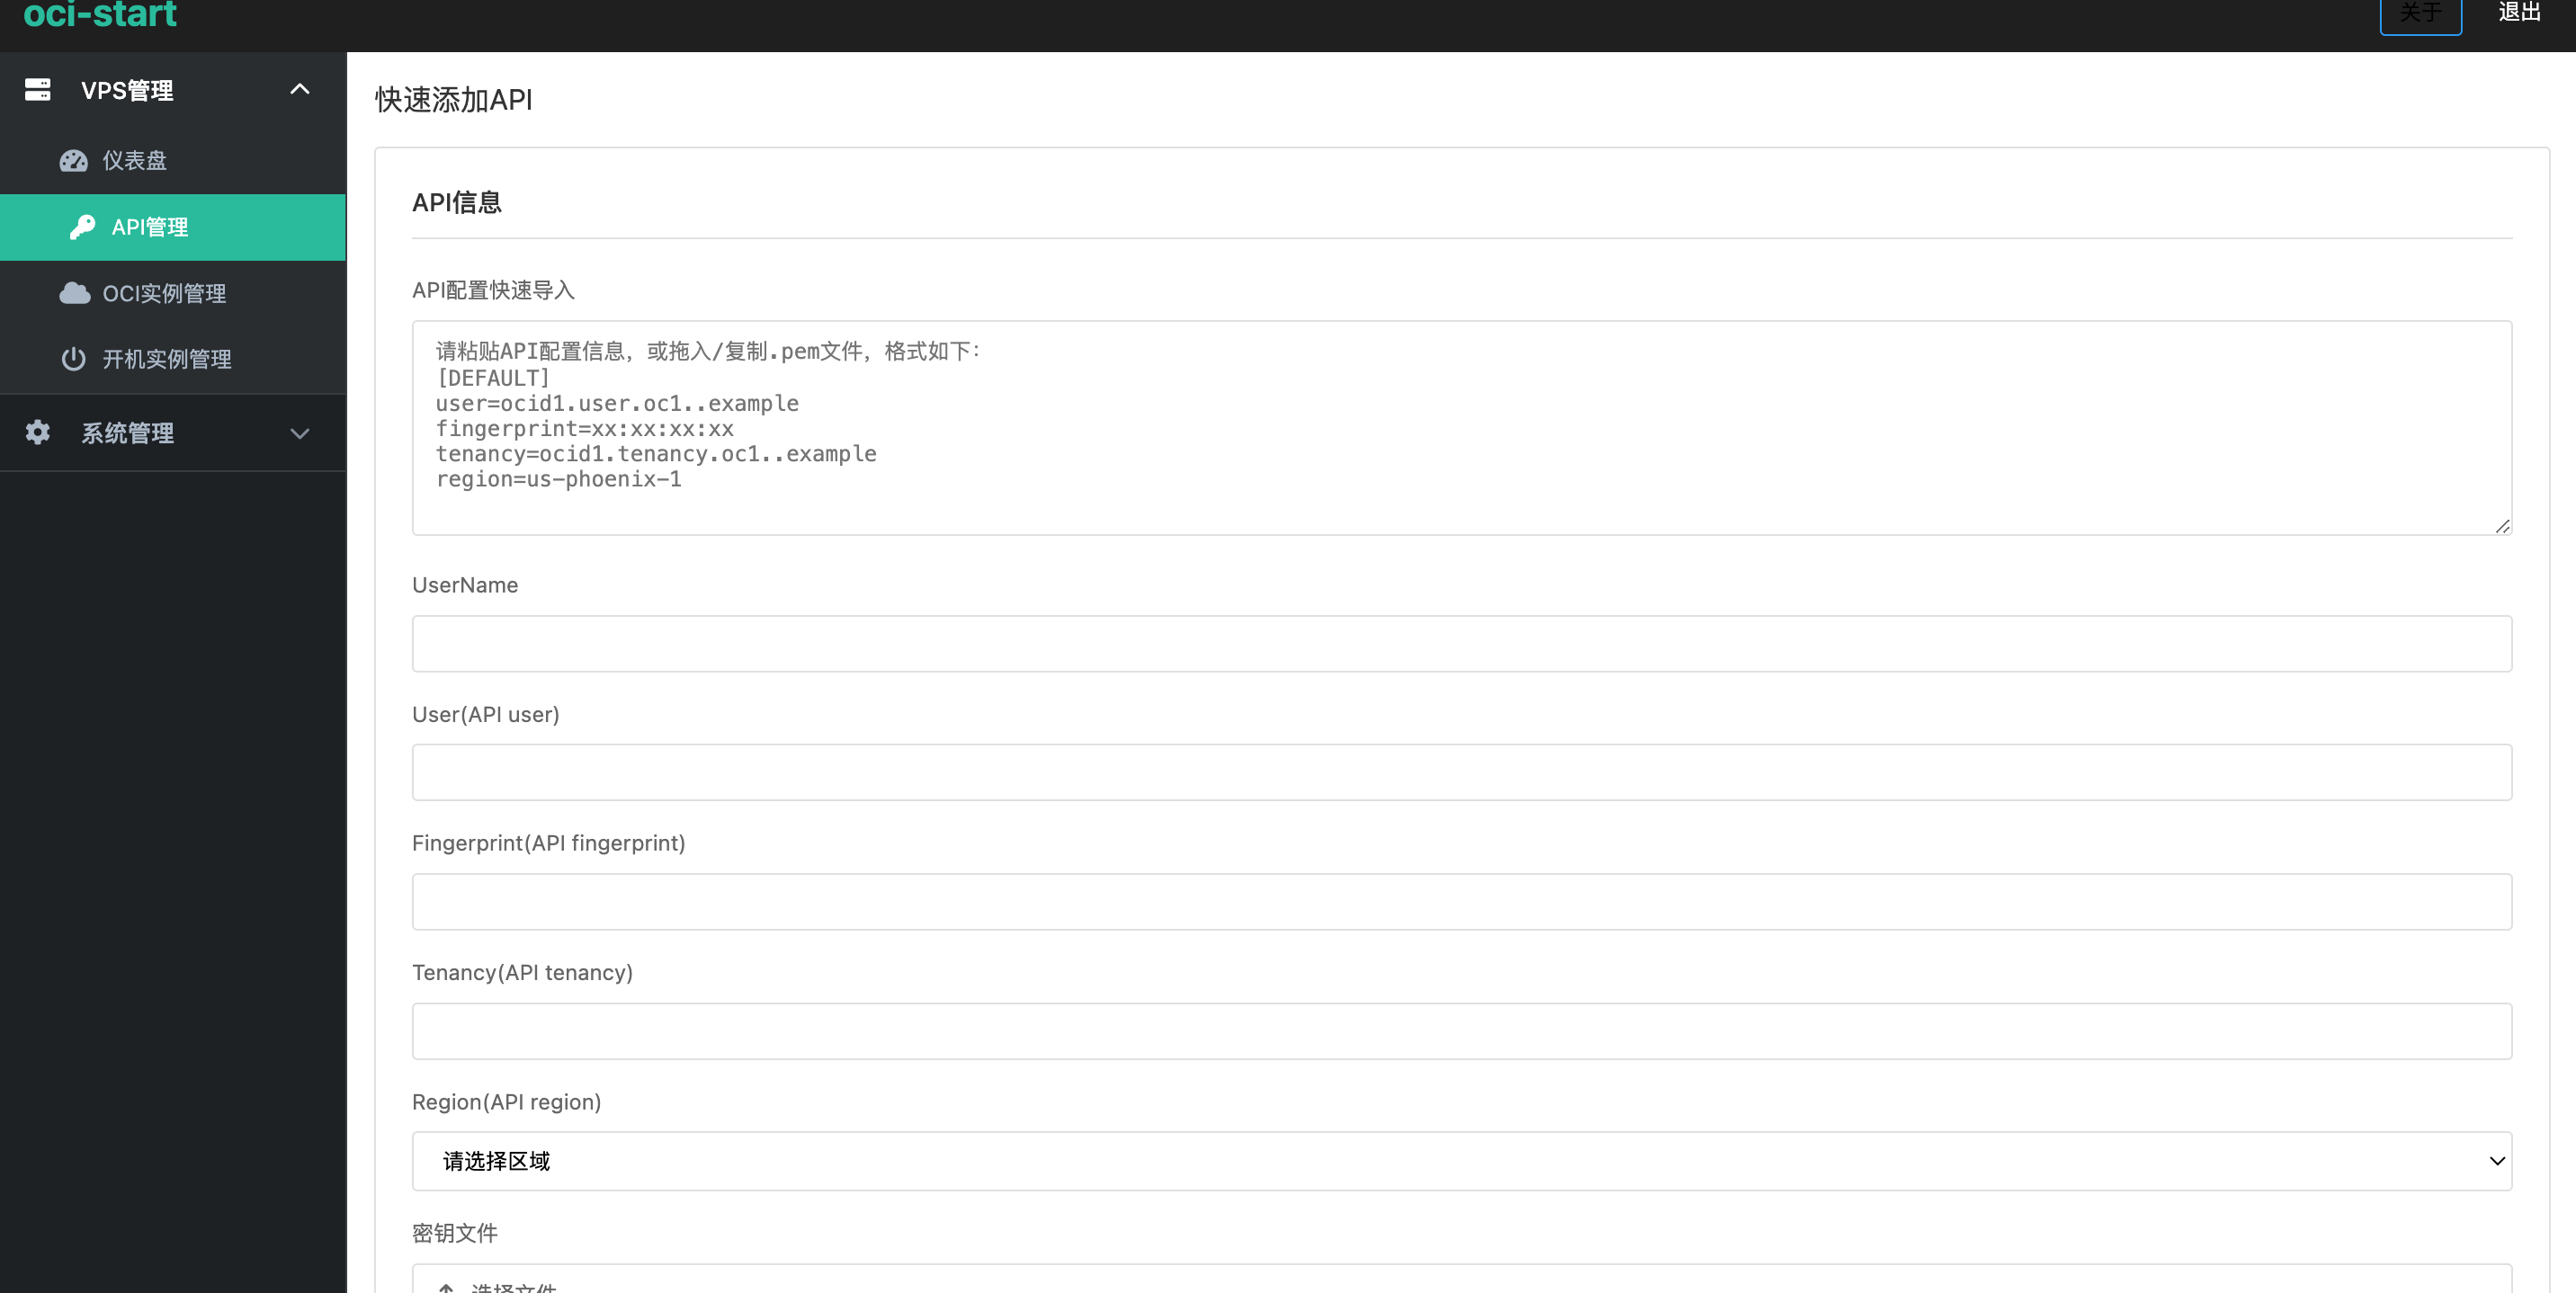
📊 实例管
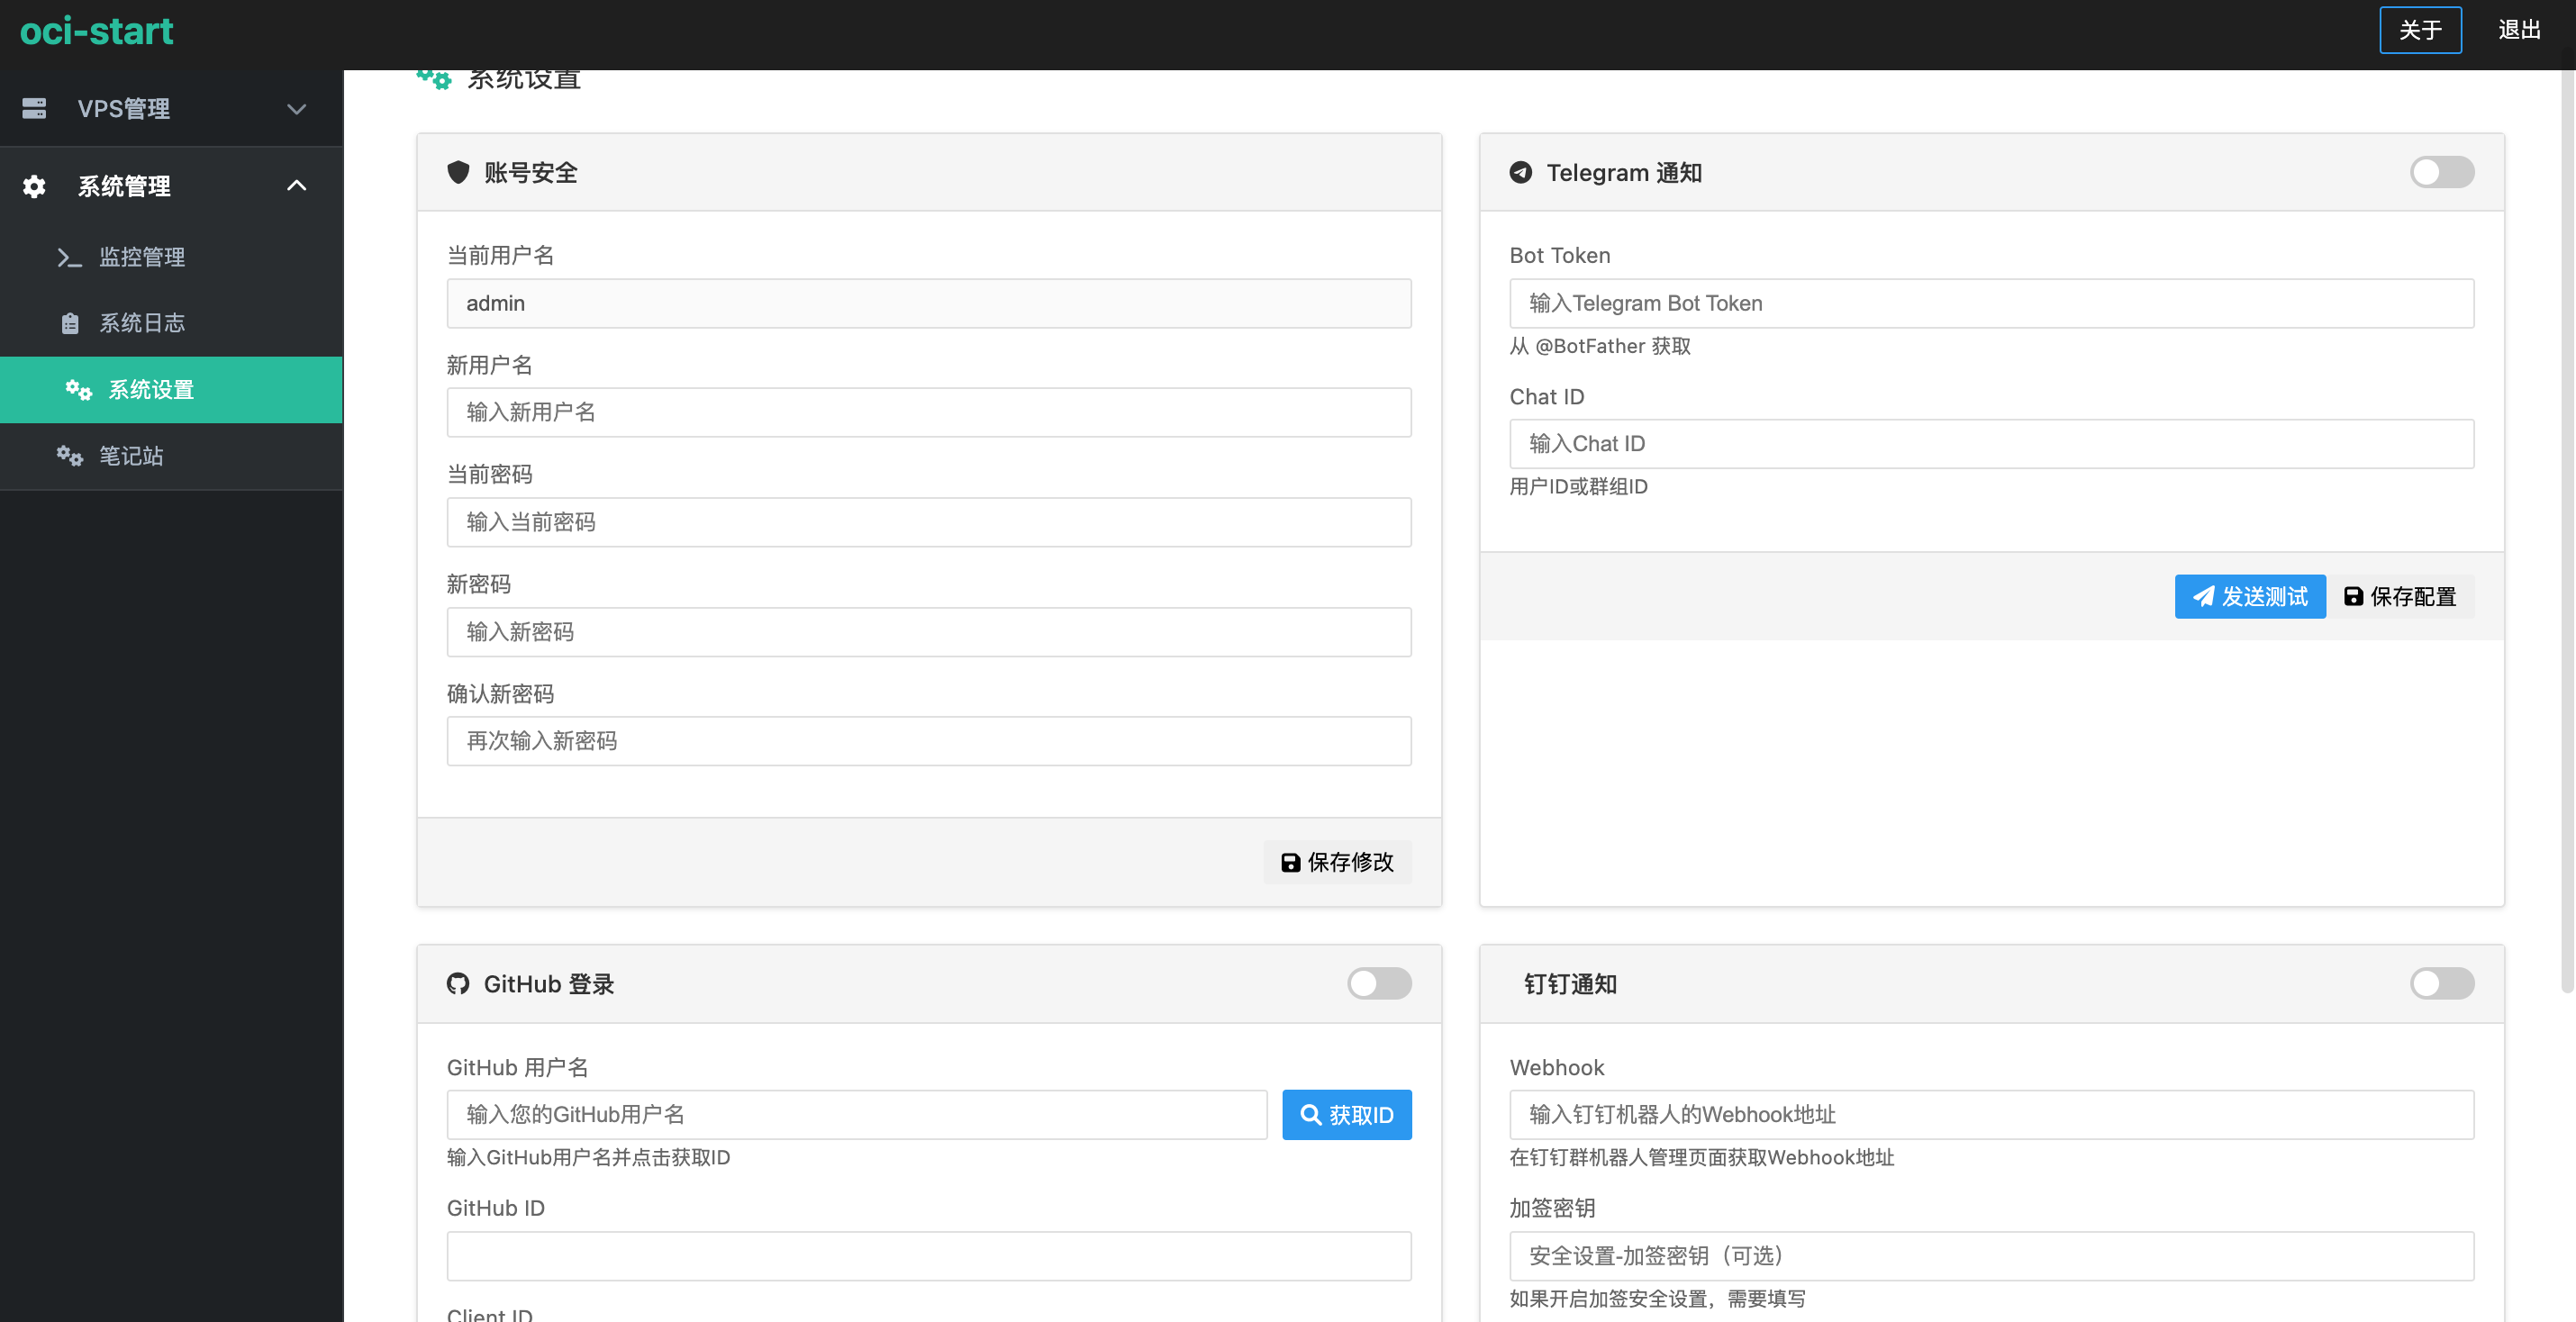
️ 系统配
🔧 高级
�